Step-by-Step Guide
Applying a sticker takes less than five minutes if you do the prep right. Here's the process I use for every laptop customization, whether I'm working with a single 2-inch emblem or a full back-lid scene.
Step 1: Choose a vinyl sticker, not paper
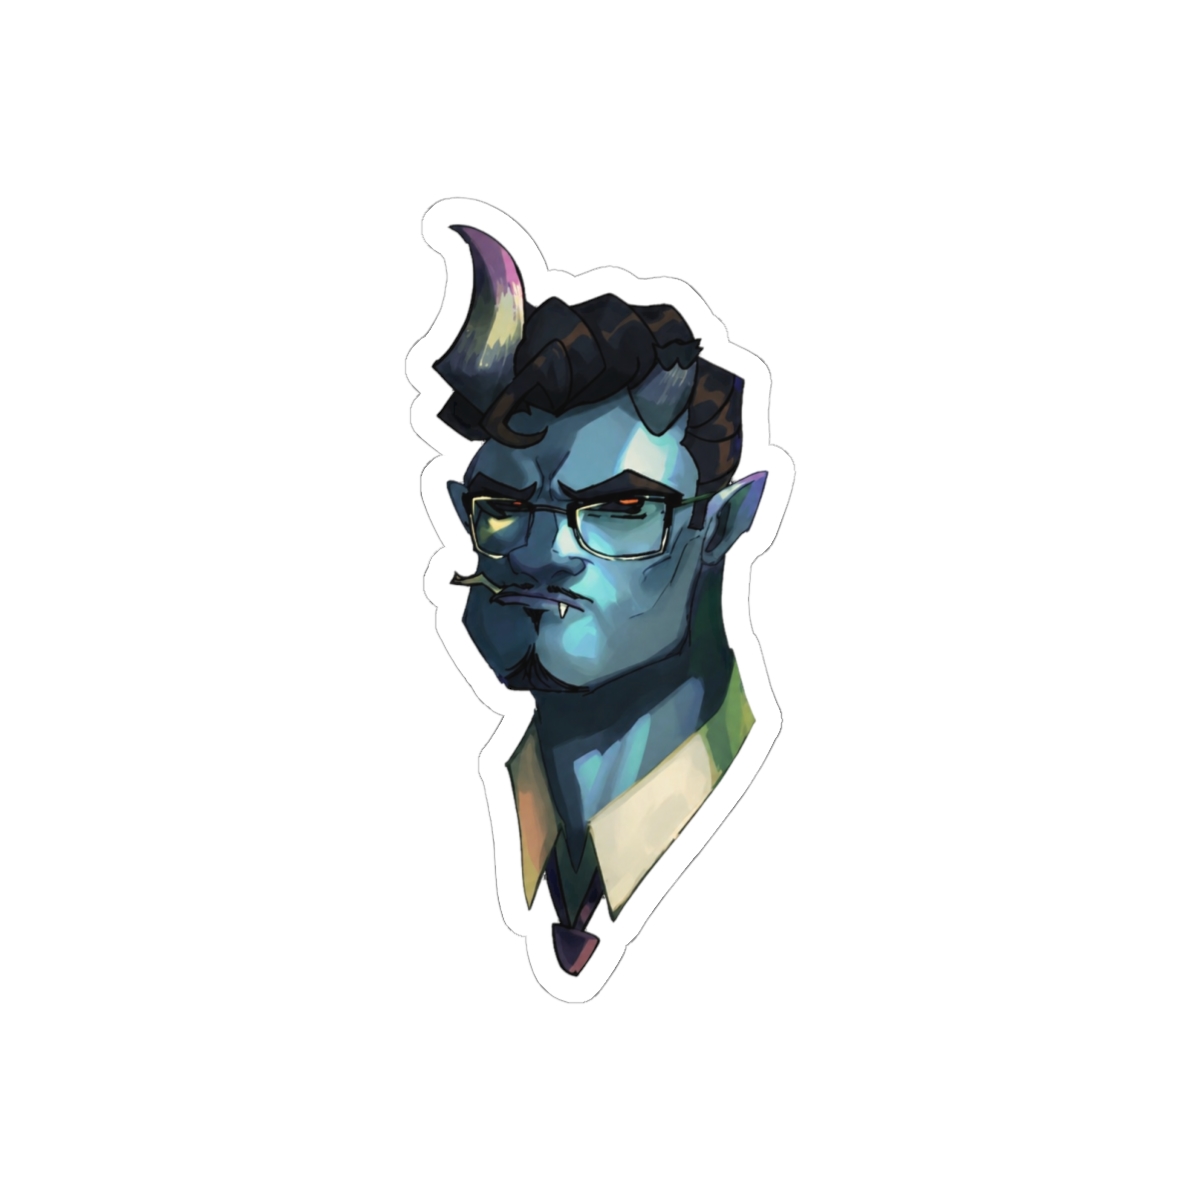
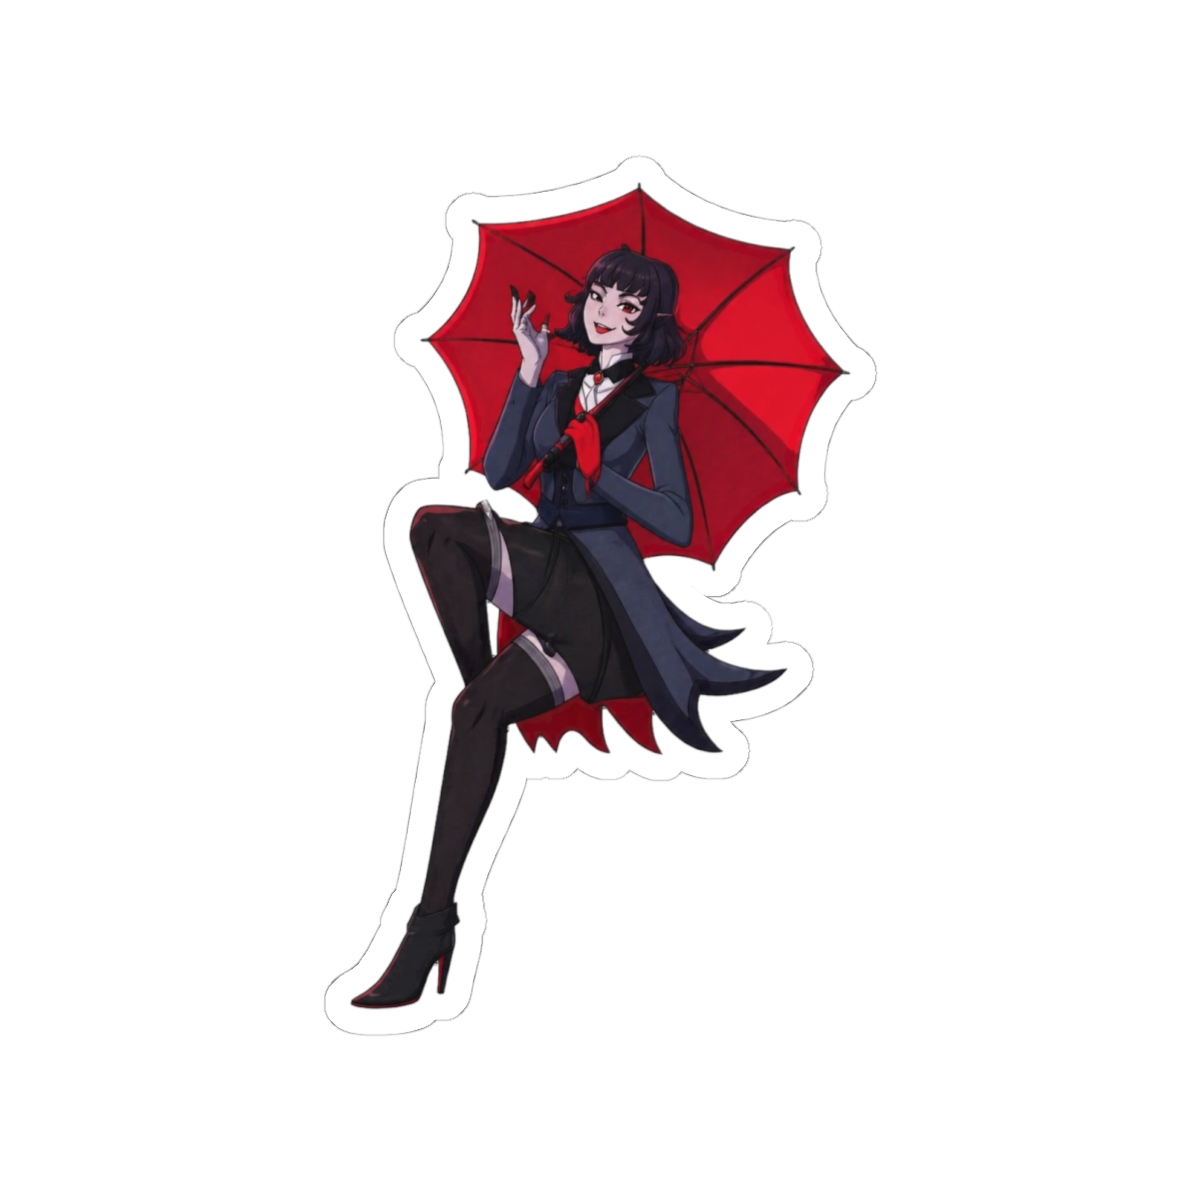
Paper stickers look great in the package but crinkle and fade within a semester. Look for die-cut vinyl with a matte or glossy laminate. The Deadlock Ability Icons Pack uses 4-mil vinyl that resists scratches from backpack zippers and laptop sleeves. Avoid anything labeled paper craft or cardstock for laptop use.
Common mistake: picking a glossy sticker for a matte laptop just because the colors pop in photos. The glare makes it hard to see in bright classrooms. Choose your finish based on your laptop's texture, not the product image.
Step 2: Clean the surface with 70% isopropyl alcohol
Dust, oils, and old hand cream create bubbles and lifting edges. Wipe the area with a clean microfiber cloth and 70% isopropyl alcohol. Let it dry for 60 seconds. Do not use all-purpose cleaners because they leave a residue your sticker won't bond to.
Step 3: Hinge the sticker with masking tape
Peel the backing slightly, stick a piece of masking tape to the exposed edge, and let the rest hang over your laptop. This lets you position the design without touching the adhesive. Straighten it, then press the taped edge down. The Deadlock Hero Lineup Pack includes a printed grid on the backing that makes centering easier.
Step 4: Squeegee from the center out
Once the hinge is set, lay the sticker down and run the edge of a plastic card from the center toward the edges. Firm, even pressure prevents air bubbles. If one forms, lift the nearest edge and re-press within the first 60 seconds before the adhesive sets.
Step 5: Heat gently to activate the adhesive
A 10-second pass with a hairdryer on low heat, held about 6 inches away, helps vinyl conform to curved corners. This is the difference between a sticker that lifts after a week and one that stays put for two years. Let the laptop rest for 24 hours before tossing it in a bag.
Step 6: Remove without residue using heat
When the semester ends, warm the sticker with a hairdryer for 20-30 seconds. The adhesive softens around 140°F, so you can peel it at a 45-degree angle without leaving gum. I've removed stickers from 3.5-year-old laptops with zero residue this way. Avoid pulling straight away from the surface, which can tear the vinyl.